
Overview
Map Controls changes the map's marker size, style and theme, and turns overlays such as live traffic and geofences on or off.
Before You Begin
Before you start, make sure you have:
- Access to the V-DAQ platform.
- At least one vehicle or asset in your account.
Step 1 – Open the Tracking Page
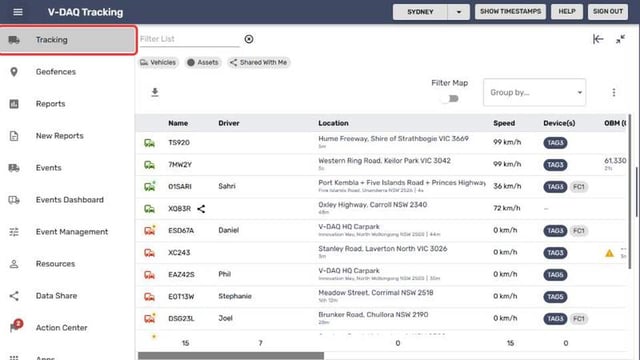
Select Tracking in the side menu.
Step 2 – Open Map Controls
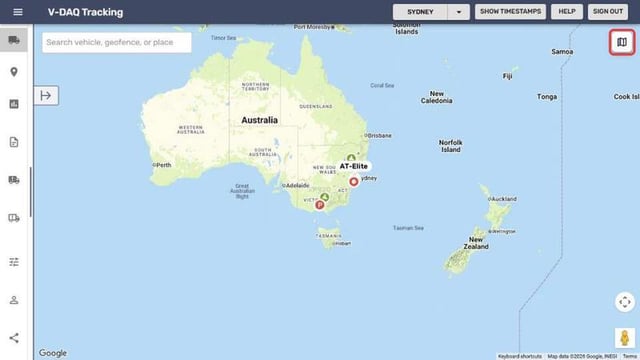
Select the map icon (Map Controls) at the top right of the map.
Step 3 – Change the Settings
Change the settings you need. They apply straight away.
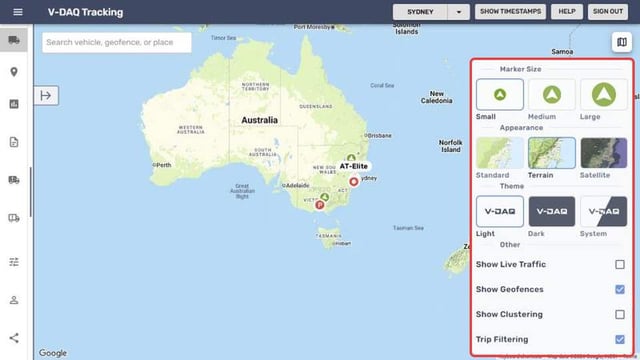
| Setting | Options | What it does |
|---|---|---|
| Marker Size | Small, Medium, Large | Sets the size of every map marker. |
| Appearance | Standard, Terrain, Satellite | Road map, 3D terrain feel, or satellite imagery. |
| Theme | Light, Dark, System | System follows your browser setting. |
| Show Live Traffic | On or off | Adds a live traffic layer. Resets to off each time the page loads. |
| Show Geofences | On or off | Shows or hides geofences in all views. |
| Show Clustering | On or off | Groups nearby markers. Live tracking only. |
Step 4 – Close Map Controls
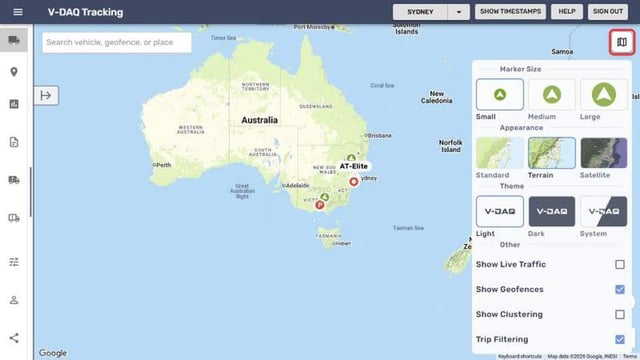
Select the map icon again to close the panel.
Note: Trip Filtering is a support setting. Leave it as it is unless V-DAQ Support asks you to change it.
Related Articles
Need More Help?
If you're still experiencing issues:
Phone: (02) 4204 8472
Email: support@v-daq.com.au