
Overview
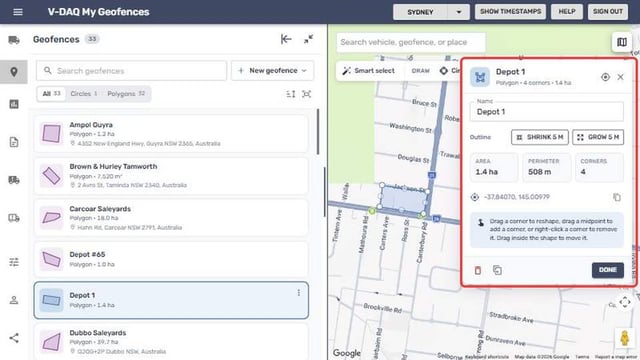
Each geofence has an editor card where you reshape it on the map, grow or shrink the outline, and check its area and perimeter before saving.
Before You Begin
Before you start, make sure you have:
- Access to the V-DAQ platform.
- Permission to manage geofences in your account.
Important
The Geofences page described here is the new map editor. If your platform still shows the older geofence table, these steps will apply once the new editor is released to your account.
Step 1 – Open the Geofences Page
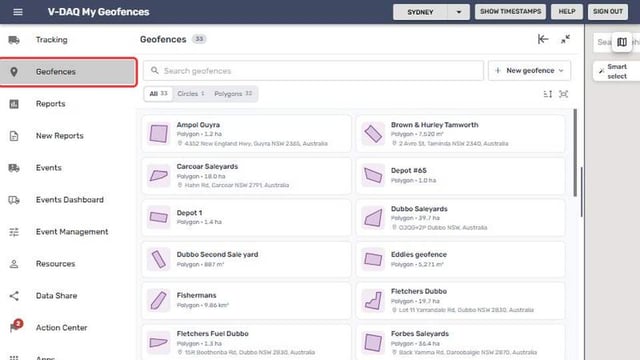
Select Geofences in the side menu.
Step 2 – Open the Editor
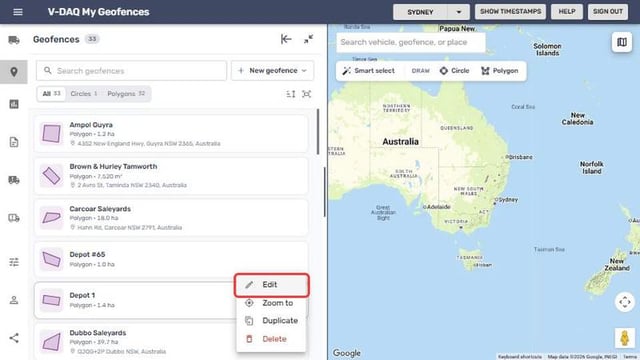
Select the three dots beside the geofence, then Edit. The editor card opens and the map zooms to the geofence.
Step 3 – Change the Shape
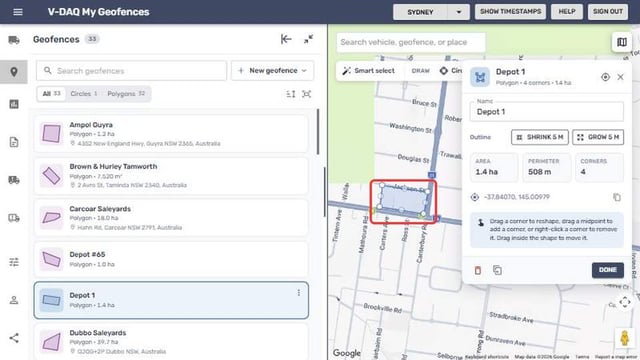
- Polygon: drag a corner to reshape it. Drag a midpoint to add a corner. Right-click a corner to remove it.
- Circle: drag the edge handle to resize, or enter an exact radius. Drag the circle to move it.
- Move: drag inside the shape to move the whole geofence.
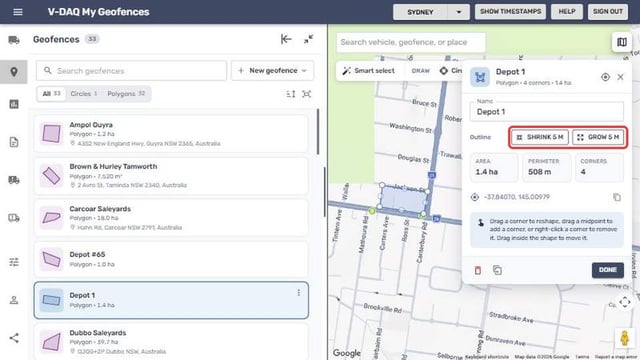
Step 4 – Grow or Shrink the Outline
Select Shrink 5 m or Grow 5 m to adjust the whole outline evenly.
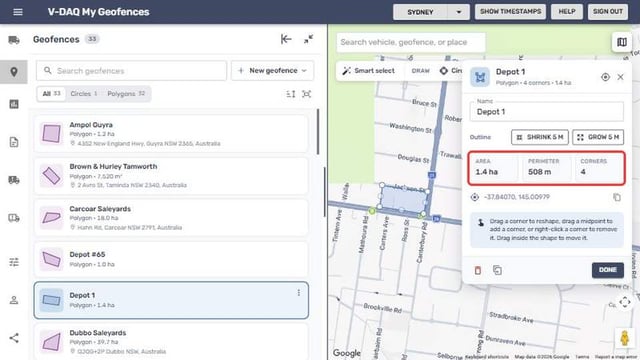
Step 5 – Check the Measurements
Check the Area, Perimeter (or circumference) and Corners on the card. Select Copy coordinates to copy the location.
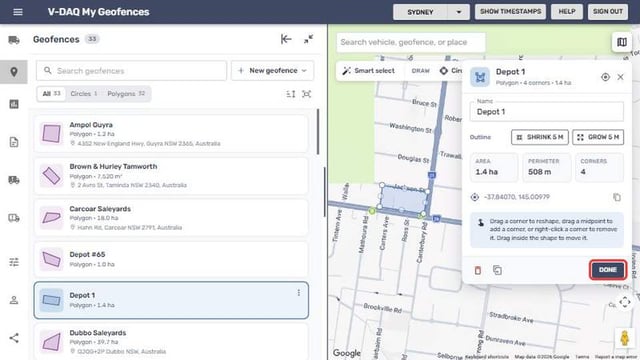
Step 6 – Save the Changes
Select Done.
Note: To keep the original and edit a copy, use Duplicate from the three dots menu first.
Related Articles
Need More Help?
If you're still experiencing issues:
Phone: (02) 4204 8472
Email: support@v-daq.com.au