
Overview
Drivers are set up in Resources > Drivers. Once a driver exists, you can assign them to a vehicle. To remove a driver, you turn off Active In Account, which takes them out of use without deleting their history.
Before You Begin
- You need access to the V-DAQ Platform.
- Have the driver's full name. Employee ID, licence number and licence state are optional.
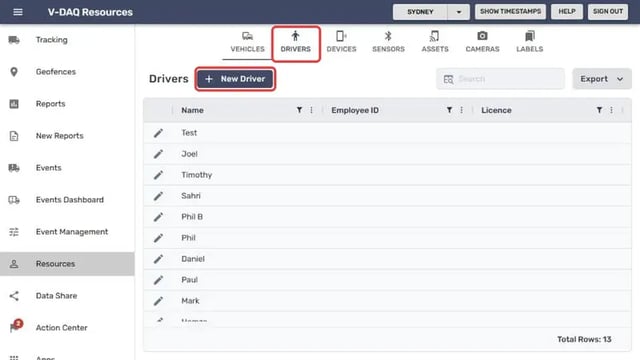
Step 1 – Open the Drivers tab
Select Resources in the left menu.Select the Drivers tab, then select New Driver.
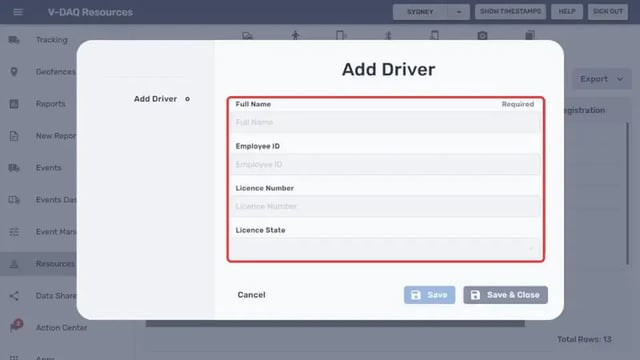
Step 2 – Enter the driver's details
Enter the driver's Full Name. This field is required.Enter the Employee ID, Licence Number and Licence State if you have them.
Step 3 – Save the driver
Select Save & Close. The driver now appears in the Drivers list and can be assigned to a vehicle.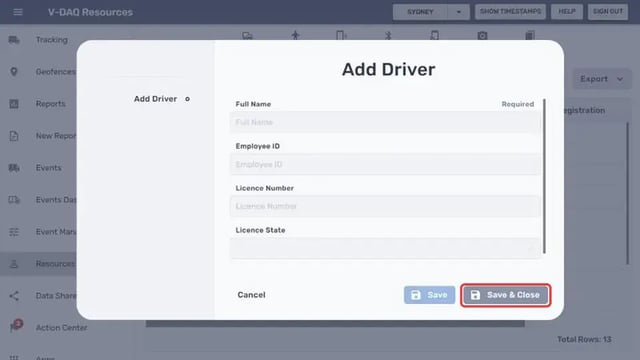
Step 4 – Remove a driver
On the Drivers tab, select the pencil icon next to the driver.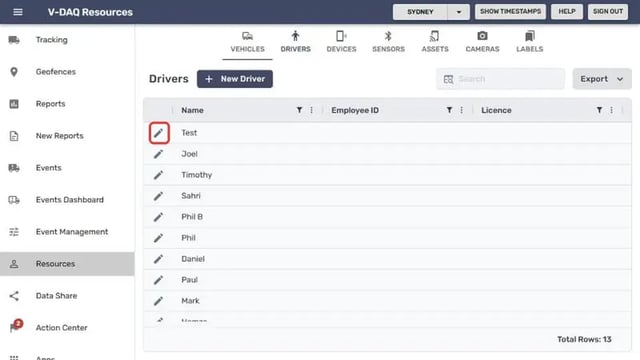
In the Edit Driver window, scroll down and untick Active In Account.
Select Save & Close.
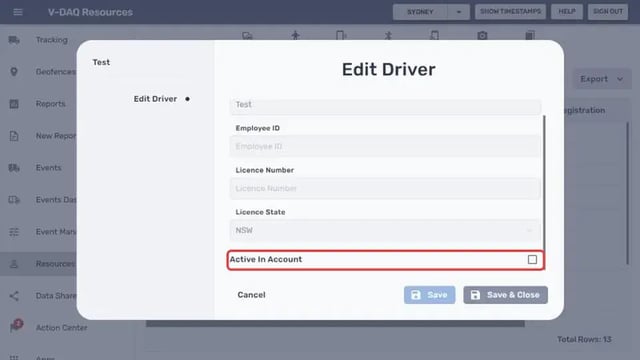
To bring a driver back, tick Active In Account again and save.
Related Articles
Need More Help?
If you're still experiencing issues:
Phone: (02) 4204 8472
Email: support@v-daq.com.au